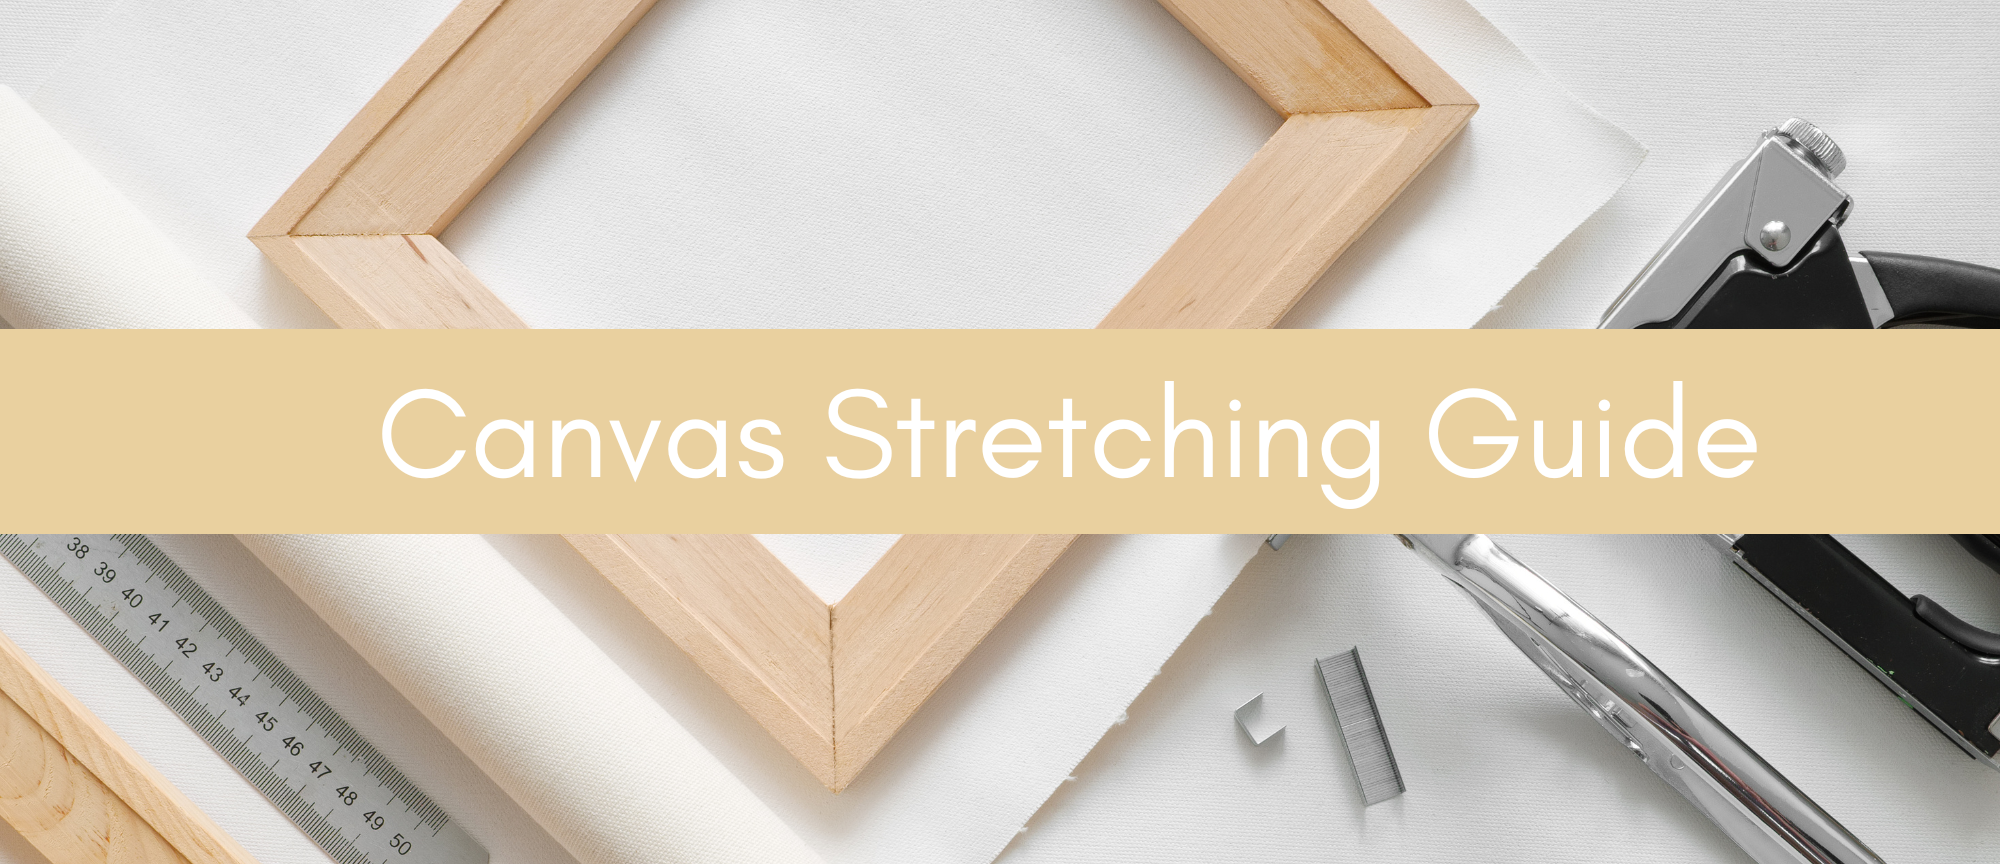
Canvas Stretching Guide

How to stretch your own Canvas - A step by step guide
Materials Needed:
Wooden stretcher bars (pre-cut and notched)
Canvas (cotton or linen, pre-primed or unprimed)
Staple gun and staples (or tacks and a tack hammer)
Canvas pliers
Scissors
Measuring tape and ruler
Rubber mallet (if needed)
Gesso (if using unprimed canvas)
Sandpaper (optional, for smoothing frame edges)
Step 1: Assemble the Frame
1. Lay out the stretcher bars on a flat surface, making sure they interlock at right angles.
2. Use a rubber mallet to gently tap them into place if needed.
3. Check that the frame is square by measuring diagonally from corner to corner—both diagonals should be equal.
Step 3: Position the Canvas
1. Lay the canvas face down on a clean surface.
2. Center the frame on top, ensuring even spacing around all edges.
Step 4: Start Stapling
1. Begin by pulling the canvas taut at the center of one side and place the first staples. (it's better to put 2 staples at the beginning, prevents moving or ripping of the canvas)
2. Move to the opposite side, pull tightly, and staple in the center.
3. Repeat for the other two sides.
Tip: if possible try not to move the canvas or a frame before shooting 2 staples to 3 side of the frame. That will ensure that frame will remain their position against each other.
Step 5: Work Outwards
1. Continue stapling outward from the center toward the corners, alternating sides to maintain even tension.
2. Use canvas pliers to grip and pull the canvas tight before stapling.
3. Space the staples about 3–5 cm (1–2 inches) apart.
Step 6: Fold the Corners
1. At the corners, fold the canvas neatly like wrapping a gift.
2. Pull tightly and secure with 2–3 staples on each side.
Step 7: Final Adjustments
1. Inspect for any uneven tension or sagging and adjust as needed.
2. If necessary, remove and re-staple any loose areas.
3. Check again if the frame is square. Sometimes bars move during stretching. To square it again push the longer diagonal from both sides inwards.
Step 8: Prime the Canvas (If Unprimed)
Apply a coat of gesso using a broad brush or roller.
Let it dry completely before applying a second coat.
Lightly sand between coats for a smoother surface.
Tips for a Professional Finish:
Use high-quality stretcher bars to prevent warping over time.
Keep the canvas tension even to avoid puckering.
For larger canvases, consider adding crossbars for extra support.
If needed, spray a mist of water on the back of the canvas and expose it to sunlight to help tighten it after stretching.
Store canvases in a dry area to prevent moisture damage.
Use any sort of clean material to protect the edges from getting dirty if they are resting on the floor
By following these steps, you will achieve a well-stretched, professional-quality canvas ready for painting!
Enjoy your creative journey!


